Ever wondered how to make a perfect 2×2 digital passport photo without leaving your home? The traditional way meant trips to photography studios or kiosks, but technology now makes it easy to do this all online—fast, simple, and cost-effective. In this guide, we’ll walk you through every step of creating a compliant us passport photo that meets official U.S. government standards, all from the comfort of your home.
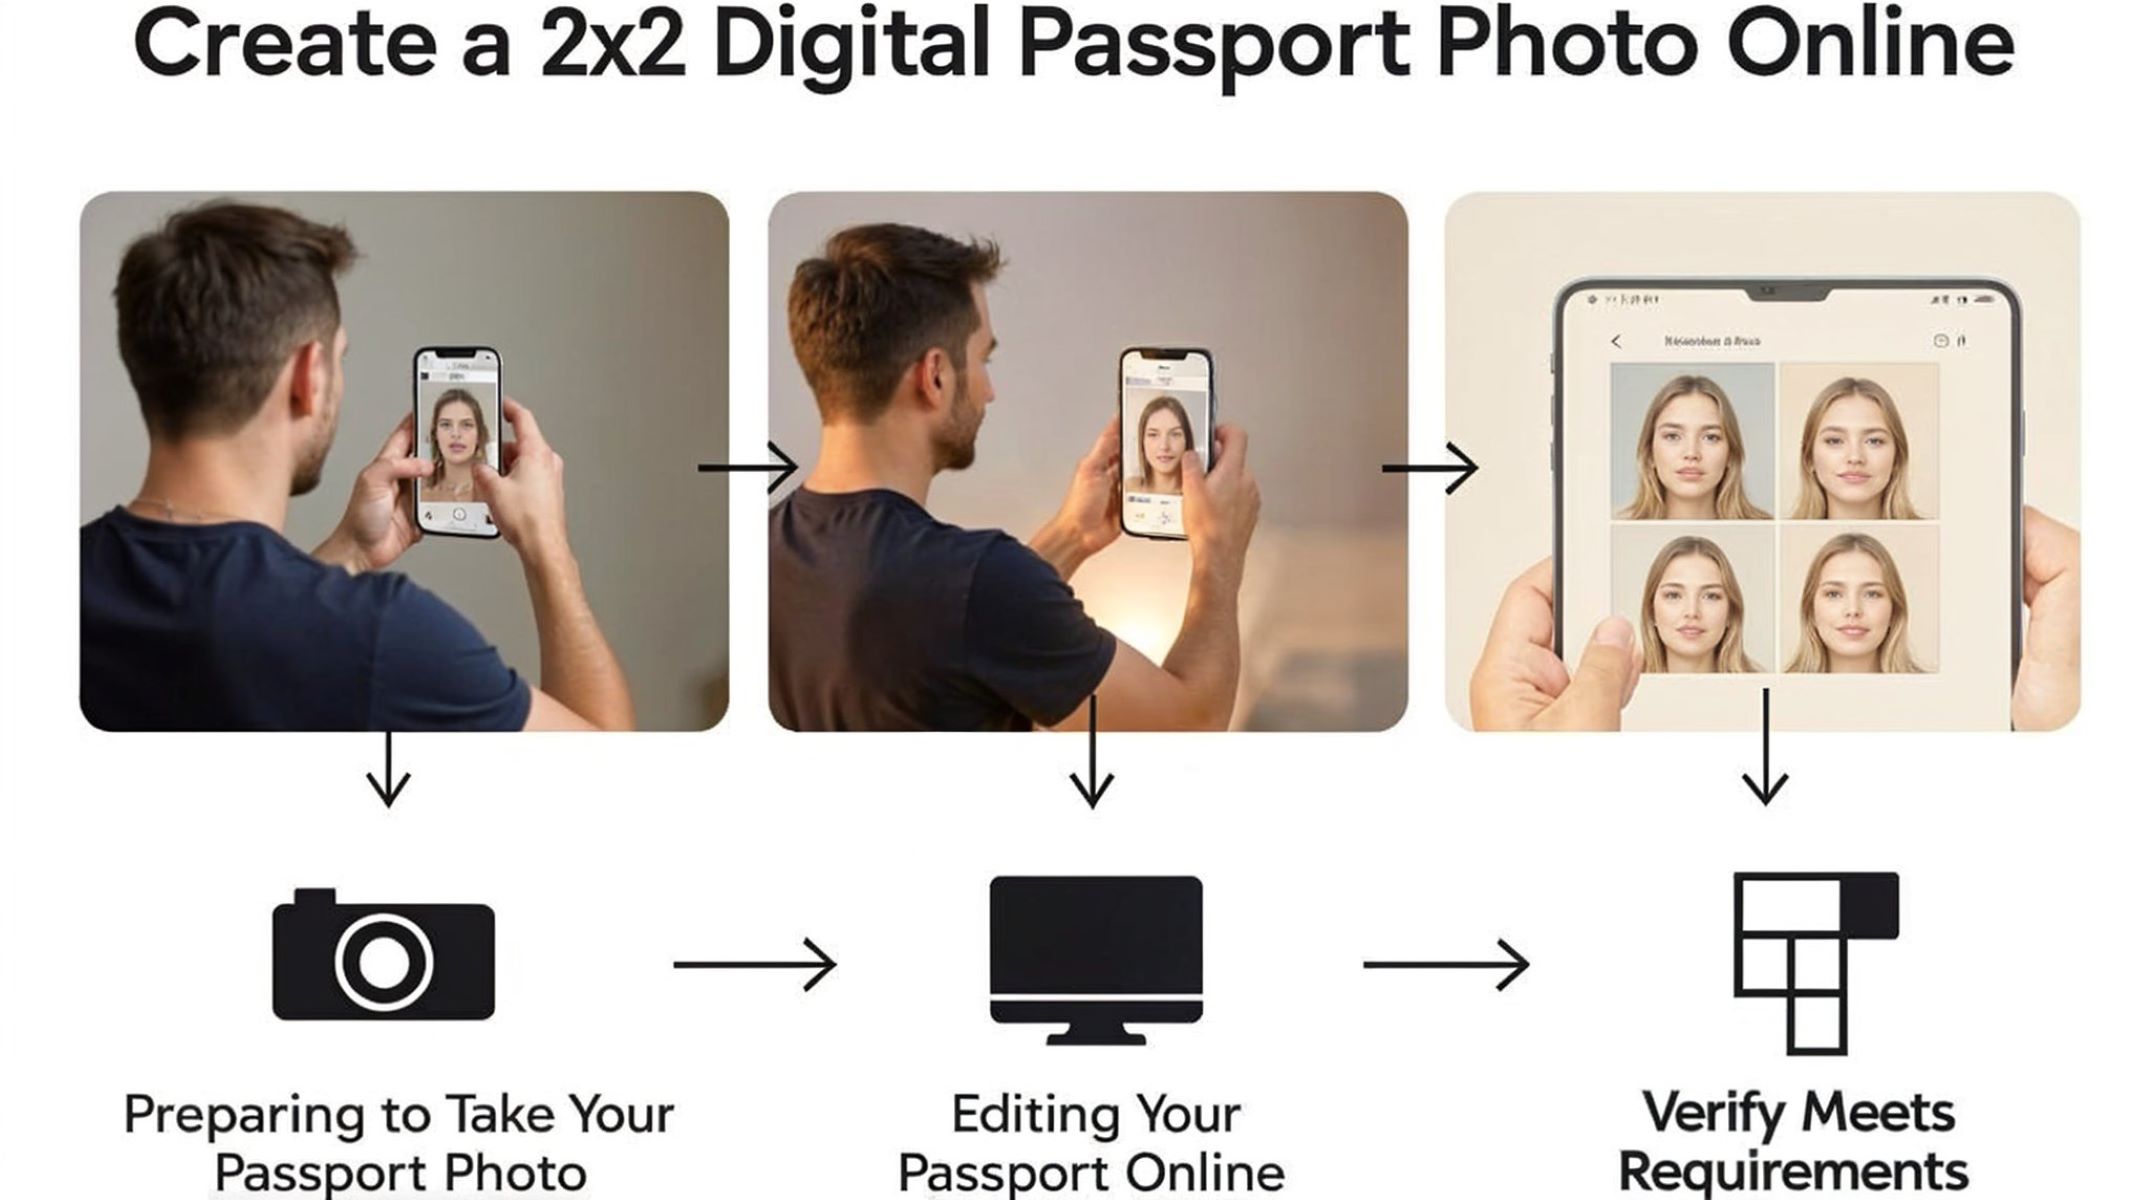
Preparing to Take Your Passport Photo
Taking a great passport photo starts with proper preparation. First, you want to make sure your environment and equipment are ready to help you capture a clear, compliant image. Preparation means paying close attention to lighting, background, and camera setup. Doing this right will save you time and reduce the chances of your photo being rejected. Remember, the U.S. Department of State has strict requirements, so it’s essential to follow them carefully.
Choosing the Right Location
The location where you take your passport photo plays a huge role in its quality. Ideally, pick a spot with plenty of natural light, such as near a large window during the daytime. Natural light is soft and evenly distributed, which helps avoid harsh shadows on your face or background. A plain white or off-white wall works best as your backdrop because the U.S. passport photo rules require a solid, light-colored background without any patterns or textures.
Make sure the area is free of distractions or objects behind you. Avoid places where light sources create shadows or uneven lighting on your face. If natural light isn’t available, you can use lamps with daylight bulbs positioned to minimize shadows. But remember, no clutter, no shadows, and no color variations behind you — a clean, uniform background is key for acceptance.
What Equipment You Need
You don’t need a professional camera or fancy equipment to take a passport photo. A modern smartphone with a high-resolution camera is usually enough. Most smartphones today can produce sharp, clear photos that meet official passport photo standards. However, stability is crucial to avoid blurry pictures. Using a tripod is the best way to keep your phone steady and at the right height for the shot.
If you don’t have a tripod, get creative! Stack some books or boxes to hold your phone at eye level. You want your camera lens to be level with your eyes to ensure a straight-on shot. Also, use the rear camera of your phone if possible, since it usually offers higher quality than the front-facing camera. Having your phone stable and correctly positioned sets a solid foundation for a perfect passport photo.
Tips for Lighting and Background Setup
Lighting can make or break your passport photo. The goal is to have even, soft lighting with no harsh shadows on your face or background. To achieve this, try diffusing sunlight by closing sheer curtains or blinds. Shooting during the middle of the day when sunlight is bright but indirect often gives the best results.
Avoid overhead lights or mixed lighting that can cause color imbalances or shadows. If you’re using artificial lights, position two light sources at 45-degree angles from your face to minimize shadows. Keep your background plain white or off-white and free from wrinkles or objects. This clean setup will help your photo pass the strict guidelines of the U.S. passport office.
Taking the Photo
Taking the photo is the most critical step in creating your 2×2 digital passport photo. It’s not just about clicking the button—you need to pay close attention to how you position yourself, how you trigger the camera, and how many shots you take to ensure you get the perfect picture. Small mistakes here can cause your photo to be rejected, so follow each step carefully.
Positioning Yourself Correctly
Proper positioning is essential for a passport photo that meets official standards. Stand about 4 to 6 feet away from the background to avoid casting shadows and to ensure the background appears smooth and uniform. Position yourself so that you are facing the camera directly—no tilting or turning your head sideways. Your face should be fully visible, centered in the frame, and your eyes should be at the same level as the camera lens.
Keep in mind these tips for perfect positioning:
- Stand straight with shoulders relaxed but squared toward the camera.
- Keep your head upright and centered in the photo.
- Maintain a neutral expression: no smiling, frowning, or raised eyebrows.
- Look straight into the lens to ensure eye contact with the camera.
- Ensure your full face, from the top of your hair to the bottom of your chin, is clearly visible.
Correct positioning not only ensures your photo looks professional but also meets the strict U.S. passport photo guidelines.
Using a Timer or Remote Shutter
Pressing the camera shutter manually can sometimes cause slight movement or shaking, resulting in a blurry photo. To avoid this, it’s best to use your camera’s timer function or a remote shutter. Here’s how to do it effectively:
- Set a 3 or 10-second timer on your smartphone or camera. This delay allows you to get into position and steady yourself before the picture is taken.
- Use a Bluetooth remote shutter if you have one. This device lets you snap the photo without touching your camera or phone, greatly reducing the chance of camera shake.
- Place your device on a tripod or stable surface at eye level for best results.
- Take a moment to steady your breathing and hold still until the camera clicks.
Using these tools ensures your photo will be sharp, clear, and well-composed.
Capturing Multiple Shots
Never rely on just one photo—take several shots to increase your chances of getting the perfect passport picture. Small changes in your posture, expression, or lighting can make a big difference in the final result. Here are some tips:
- Experiment with slightly different angles or head tilts to find your best profile.
- Try subtle changes in your facial expression—remember, the official rule is a neutral expression, but some minor variations may help.
- Check each photo for shadows, glare, or background issues.
- Review the photos on a larger screen to catch details you might miss on your phone.
- Select the top 3-5 photos that meet the guidelines and look the best.
Having multiple options allows you to choose the clearest, most compliant photo, minimizing the chance of rejection by the passport office.
Editing Your Passport Photo Online
Editing your passport photo online is a crucial step to ensure that your image complies with all official U.S. passport photo requirements. Fortunately, there are many websites—both free and paid—that simplify this process. These tools allow you to upload your photo, crop it to the exact 2×2 inch size, adjust brightness, remove shadows, and sometimes even change or whiten the background automatically. Popular options include Passport Photo Online, IDPhoto4You, and others that cater specifically to U.S. passport photo standards.
Choosing the right tool depends on your comfort level and the features you need. Some websites offer detailed guides, automatic photo validation, and printable templates, while others are more basic but free. Before uploading, make sure your photo is clear and well-lit, as even the best tools can’t fix an image with poor quality or wrong positioning. Editing online saves time and money compared to going to a photo studio and gives you full control over your final image.
| Website Name | Free/Paid | Features | Ease of Use |
| Passport Photo Online | Paid | Auto background removal, validation | Very User-Friendly |
| IDPhoto4You | Free | Crop to size, basic adjustments | Simple, Quick |
| PersoPhoto | Paid | Color correction, print templates | Intuitive Interface |
| MakePassportPhoto | Free | Auto cropping, background editing | Beginner Friendly |
Uploading Your Photo
Once you have chosen your online passport photo editing tool, the next step is uploading your best photo. Make sure to select the clearest, most properly lit image that follows the guidelines for pose and background. Most websites accept standard image files such as JPEG or PNG. Usually, there’s an easy “Upload” button on the homepage or editor screen where you select the photo saved on your computer or phone.
Uploading the photo is straightforward, but be mindful of the file size and resolution. A higher resolution photo (at least 300 dpi) is preferred to ensure clarity after cropping. Some websites may limit file size, so compress the photo if needed without sacrificing too much quality. Once uploaded, the tool typically previews your image and allows you to begin the editing process immediately.
Cropping to the Correct 2×2 Inch Size
After uploading, the most important step is cropping your photo to the exact 2×2 inch (51 mm x 51 mm) passport photo size required by the U.S. Department of State. Most online tools have an automatic cropping feature where you drag a box over your face, and the tool adjusts the crop to ensure your head and shoulders fit perfectly within the frame.
You must make sure the crop includes your full head from the bottom of your chin to the top of your hair, with the correct head size (usually between 1 inch and 1 3/8 inches from chin to crown). The cropping frame often includes guidelines to help you position your face correctly, so you don’t have to guess. This precision is vital because even slight deviations can lead to photo rejection when applying for your passport.
Checking Your Photo for Errors
Common Mistakes to Avoid
When editing your passport photo, be careful to avoid these common mistakes that often lead to rejection:
- Head too small or too large in the frame: Your head should occupy the right portion of the photo, neither tiny nor oversized.
- Shadows on the face or background: Shadows can cause your photo to be rejected. Make sure lighting is even and background is uniformly white.
- Wearing glasses with glare: Reflections or glare on glasses obscure your eyes and are not allowed.
- Smiling or frowning: Passport photos require a neutral facial expression with both eyes open and mouth closed.
Avoiding these errors ensures your photo will meet the strict guidelines set by passport authorities, reducing the risk of delays or having to retake your photo.
How to Verify Photo Meets Passport Office Requirements
Verifying your photo’s compliance is critical before submitting it with your passport application. Many online passport photo services now include built-in validation tools that automatically check key elements such as head size, background color, facial expression, and lighting. These tools can flag potential issues for you to fix before finalizing the photo.
Additionally, you can refer to the official U.S. State Department’s passport photo guidelines, which provide detailed specifications and sample photos to compare. Using both online validators and official resources will give you the best chance of submitting a perfect passport photo on your first try.